Every session you book will have its own unique session note in Owl. You can work on this session note during your session or after, whatever your preference! You can also sign your session note using your digital signature.
There are three ways to find and write the session note: from the Calendar, from the Client Account, or from the Workflow.
From the Calendar:
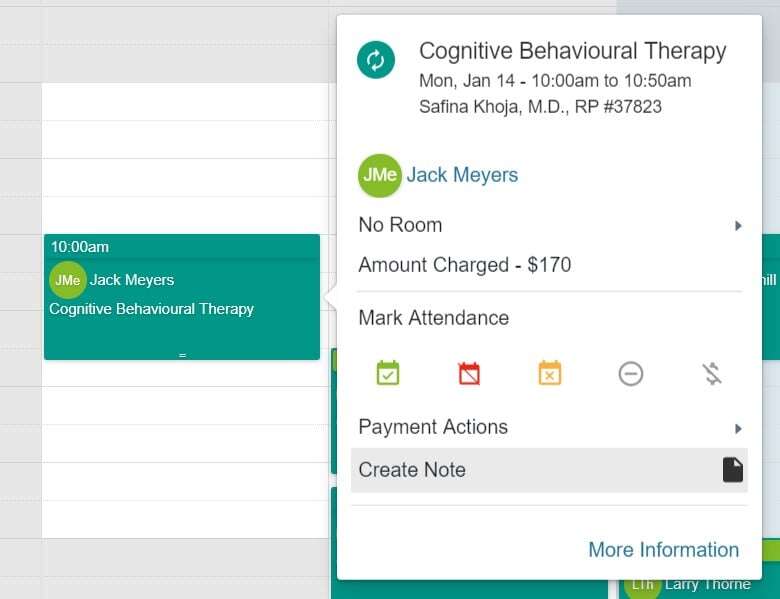
- From the Calendar click on the scheduled session.
- This opens the Session Overview Window.

- Click on Create Note.
- Write the note directly into the Notes Editor window that pops up. You can format it using any of the options in the top bar.
- When you are done your note click Save first, and then Sign to add your therapist signature in.
From the Client Account:

- Head to the Client Account.
- Open the Sessions tab.
- This will display a full list of sessions the client has been scheduled for.
- Click on the blue Create Note button next to the session for which you are writing the note.
- When you are done your note click Sign to add your therapist signature in.
From the Workflow:

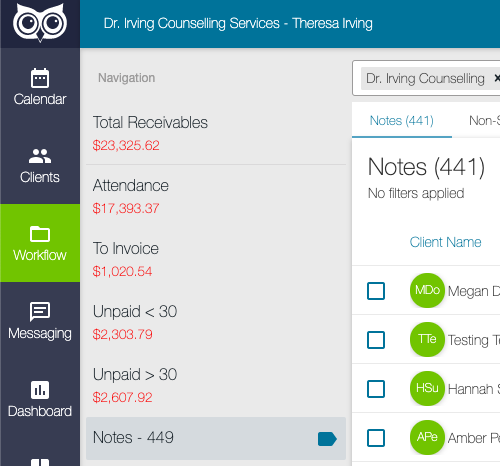
- Click on the Workflow tab.
- Click on the Notes section on the lefthand side.
- Here, you will see any unsigned notes for sessions that have passed by.
- Click the blue "Create Note" or "See Note" button to open the session note!