
Once you’ve connected your Stripe account with Owl, you can easily add credit cards or bank accounts to your client records for payment processing.
Adding a Credit Card
To add a credit card to a client profile, first go to Clients, then All Clients, select the desired client profile and then select View.

Next, under Contacts & Clinical, select the Payment Methods tab. Then select Add Payment Method in the bottom right.

Next select Card to set up a credit or bank card or Bank (AHC) to set up a bank account and then select Next.

Adding a Credit or Bank Card
After selecting Card on the previous menu, enter in your client's card information in the provided window and then select Save.

Adding a Bank Account
After selecting Bank (AHC), enter your client's email address in the provided window and then select Save. A form will be sent to the client where they can enter their bank account information.

Once ether the payment information has been added successfully, you will see it listed as a payment method in this client's profile. You can select the arrow next to the card to expand the view, which will show you the payment information.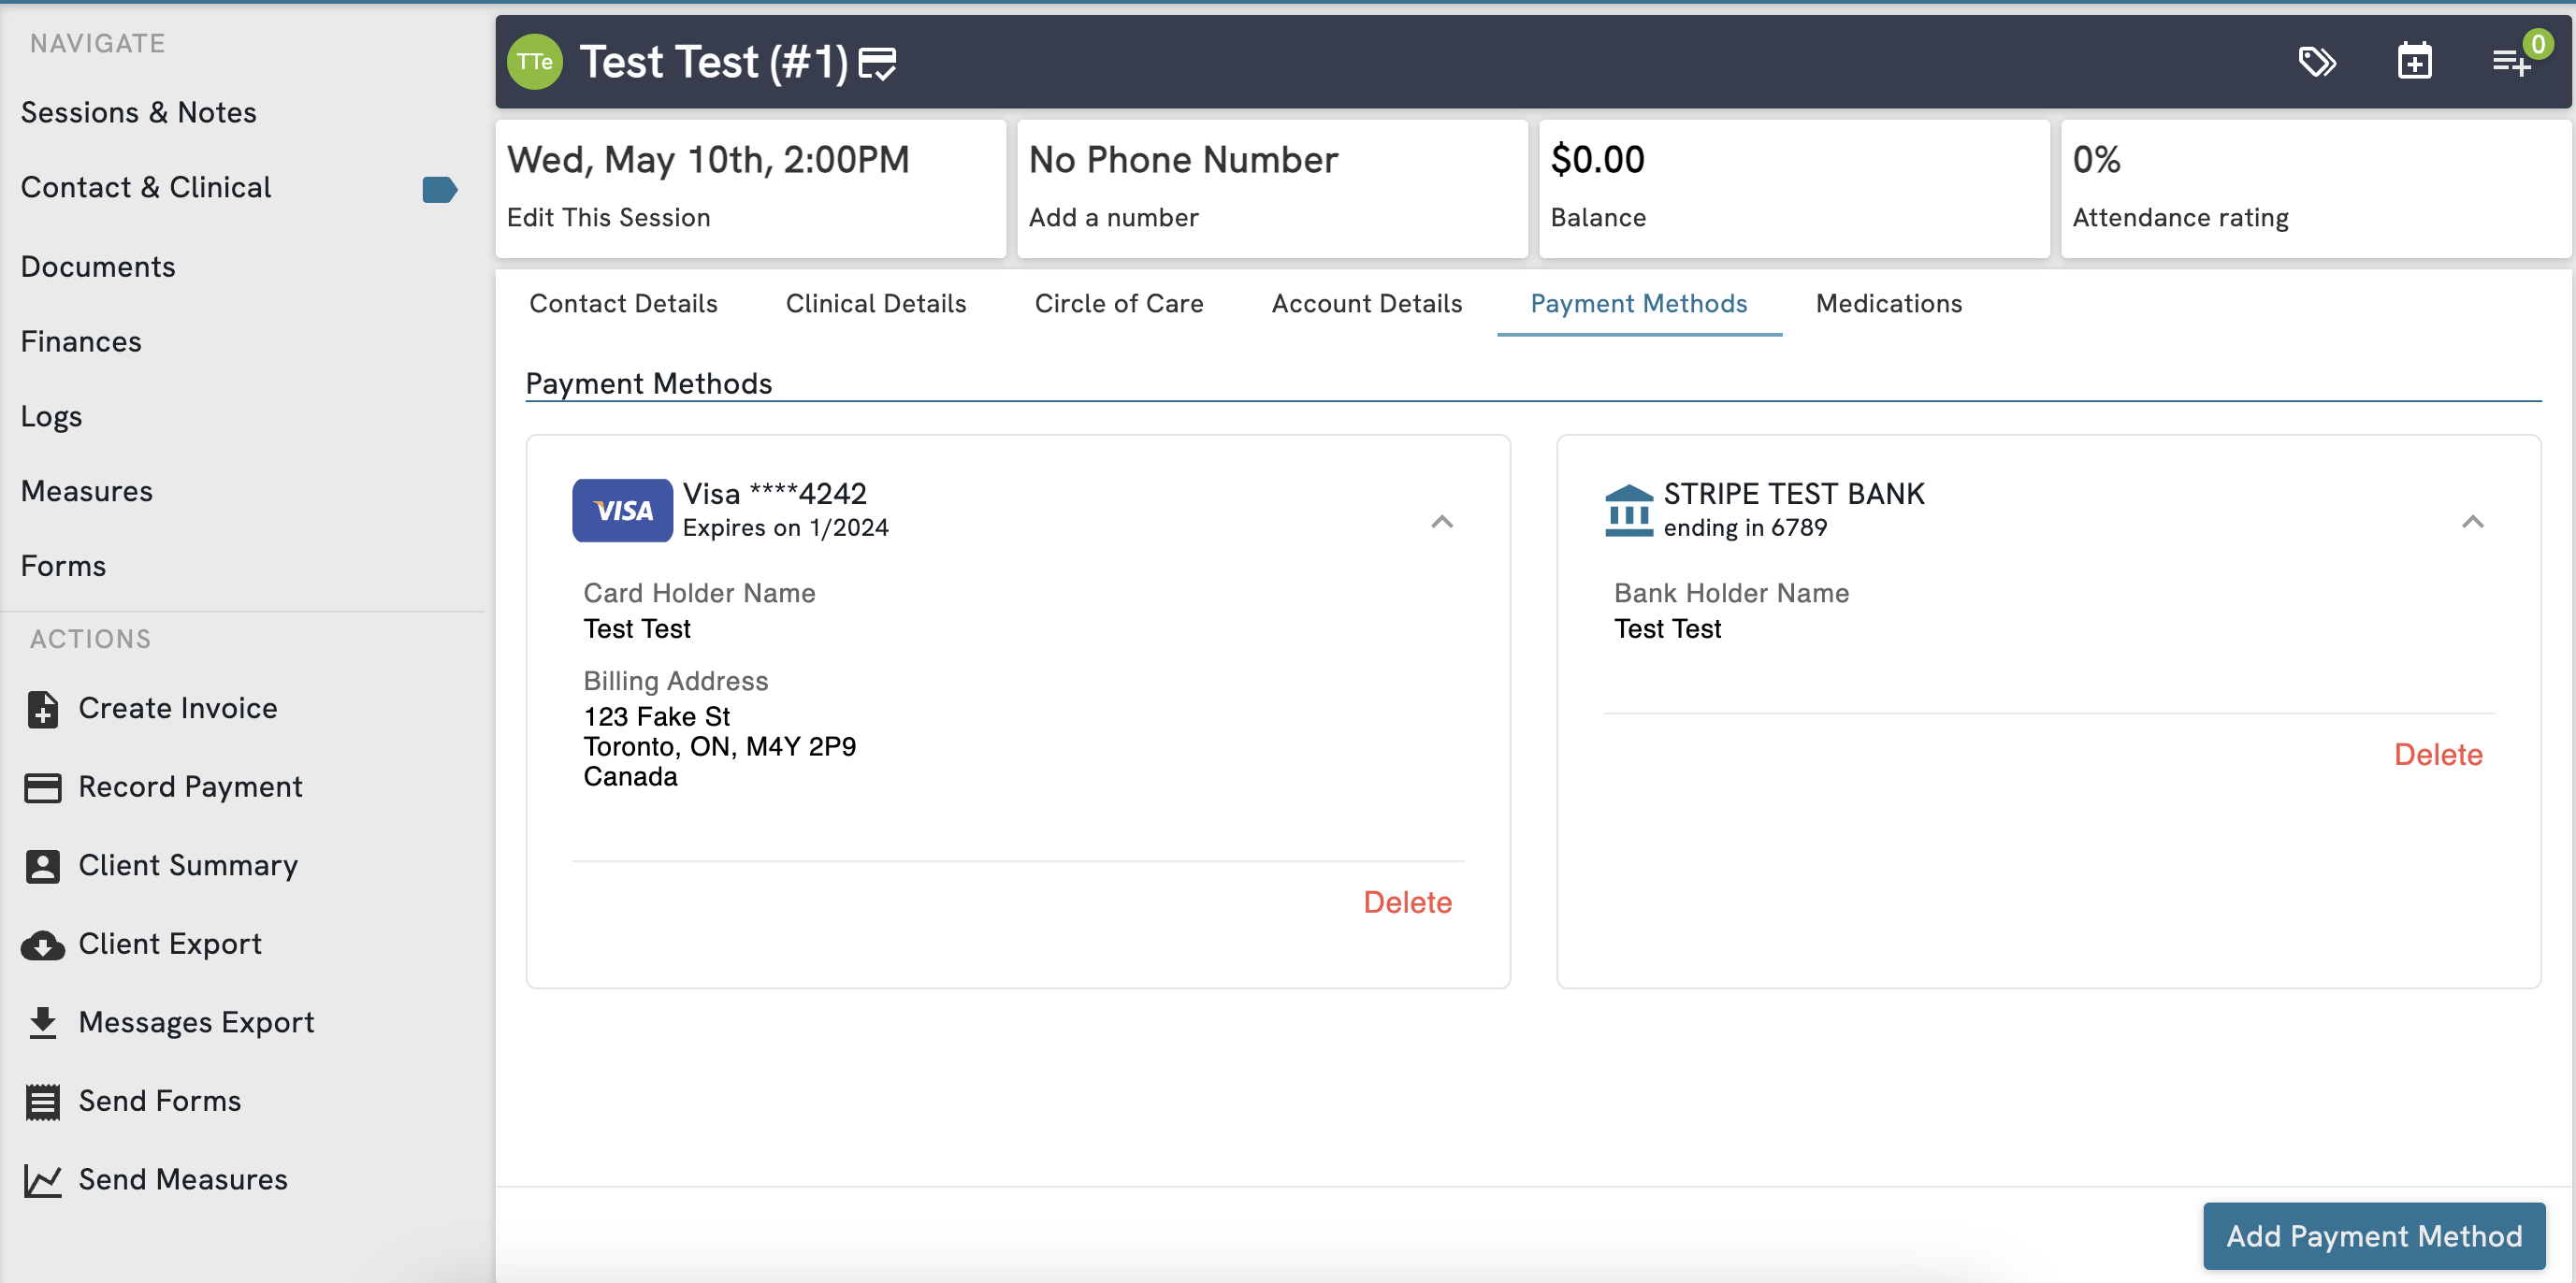
Note: Owl's Stripe integration currently does not support 3DS card types.
Important Information Regarding Stripe
As part of Owl’s integration with Stripe, when you add a credit card the details are submitted to Stripe via secure real-time API call. Stripe then uses the industry standard Luhn algorithm, also known as a Mod-10 check, to validate the card. As soon as validation is completed, the card is successfully added and the details are securely vaulted in a way that will allow you to process transactions on the card without having to ask the client to present their card for every payment. When the card entered is a valid credit card this check happens instantaneously in real-time so you can use the card to process transactions for the client immediately after saving it.
For security and compliance reasons, once a payment method has been added to a client record it cannot be edited. To make changes to the card or account, you must remove the payment method and then add it again.
You and any other users of the account won’t ever be able to see the credit card or bank account details in full. You will only ever be able to see the last 4 digits of the card or account. It is critically important as part of PCI Compliance that you do not ever write down client credit card numbers or bank account details on paper or store them in files on your computer. Client payment methods should always be input into Owl by having the client present their card or void cheque onsite and using the secure Payment Method entry window that appears when you select the Add Payment Method button.
Configuring a Default Payment Method
In order for Autopay to run on enabled clients that have more than one payment method, you will need to configure which method should be used as the default for automatic processing.
Go to a Client Profile, then Contact & Clinical, and finally the Payment Methods tab.
Open the three dot action menu next to the credit card that you would like to set as the default and select Make Default.

The default card will now be used for Automatic Payment Processing, if enabled. If this card is deleted, you will need to select another default to continue using autopay for this client.
Note: Clients cannot change their default card from the client portal at this time.