
Check out this quick video overview of your Client Portal:
Note: You can easily enable High Contrast Mode at any time when using the client portal. Select the gear icon, and then select High Contrast Mode to toggle the feature on and off as needed.

Signing up from your Client Portal Email Invite or SMS Invite
You should receive an email or SMS message from your clinic inviting you to the Client Portal. Once received, select the Accept Invite button or invitation link.

If you are missing the email or SMS message after signing up with your clinician, check to make sure the message wasn't filtered out into spam, or reach out to your clinician to ensure it has been sent to the correct email address or telephone number.
Creating an Account
If your clinic has enabled client account creation can select the Create Account button at the top of the page to set up an account.

When creating a new account, you will need to enter your First Name, Last Name, Date of Birth, Preferred Language, Phone Number, Email, and a Password to create an account. Once you have created an account, you can use the Sign In button to log in.
Note: Passwords must contain at least one number, one uppercase letter, one lowercase letter, one special character, and be at least 8 characters long.
Note: Clinicians can find more info on setting up client access here.

Booking an Appointment
Now that you are logged in, you will be able to book an appointment by following these easy steps:
- Select Book Now in the upper right of the screen.

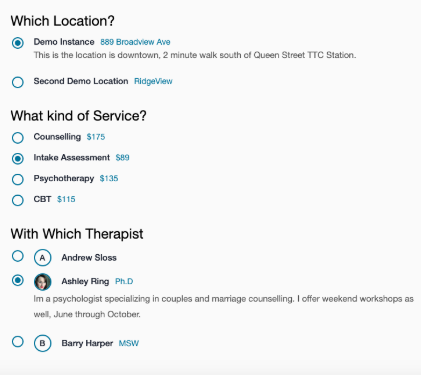
- Select the Location you would like, the Service you are looking for, and the Therapist you want to book with. You will then see the available time slots.
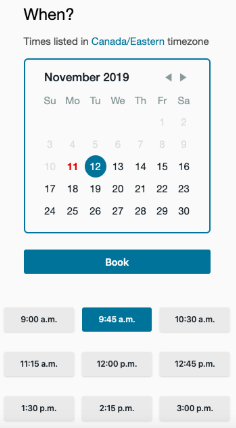
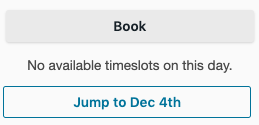
- Use the Calendar to select a specific day and select your desired time slot. You can also select the Jump to button to find the next available day, if you are having trouble finding an opening.
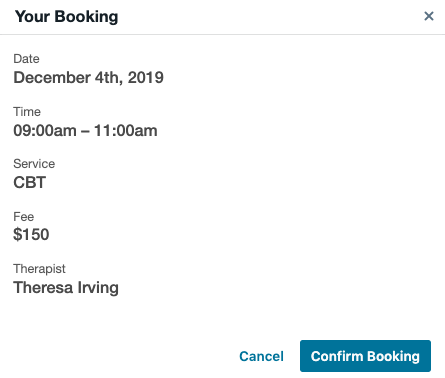
- Select Book, confirm the details, and select Confirm Booking to complete the process.
My Account View
On the My Account page, you can check your Account Summary and Session History, including your next upcoming session. If you notice any incorrect information, contact your therapist so they can update their records. You can also select Reset Password to reset you account credentials.

Sessions
Under the Sessions section, your Upcoming and Past sessions are listed below. From here, by selecting the Sync Calendar button you can generate a link to synch these appointments with a web based calendar such as Google Calendar, and you can select Cancel next to your appointment to cancel your appointment.

This will bring up the Confirm Cancelation window where you can select a reason for your cancelation. To proceed, select Cancel Booking.

Financial Documents
You can quickly view your financial documents such as Receipts, Refunds, Invoices, and Superbills in the lower right hand corner of the Account View. After selecting the desired document type, you can download the full documents by selecting the cloud icon to the right.

Forms & Documents
You can also view, open, or download submitted forms as well as see their submission history and status by selecting View Forms under the Forms & Documents field or the Forms tab at the top of the screen.

From the Form view, you can see which forms are available to them under Forms Title, when they have last been updated under Last Updated, their current status under Status, can open forms to fill them out by selecting Open, and can download copies of files to keep for their own records by selecting Download.

Note: Only forms sent to the client will be displayed in the Client Portal. Forms will not be displayed to anyone else but the selected client, even those in their Circle of Care.
Messaging View
The Messaging view allows you to message your clinician and exchange information. By selecting Messaging from the top of the Client Portal you will see a list of your communications with your therapists, much like an email thread. On the left under Secure Conversations you can select different conversation threads between yourself and the clinician. The chat view on the right contains the history of these message, and you can quickly reply to a thread from the chat box on the bottom.

You can begin a new thread by selecting the plus icon in the top left.

You must enter a Subject, the body of the Message, and select a Therapist from the drop down menu before selecting Create.

You can select View Participants above the chat box to quickly view everyone participating in a message thread.

You can also send files and documents by selecting Attach File above the chat box and attach emojis by selecting the emoji icon to the right.
